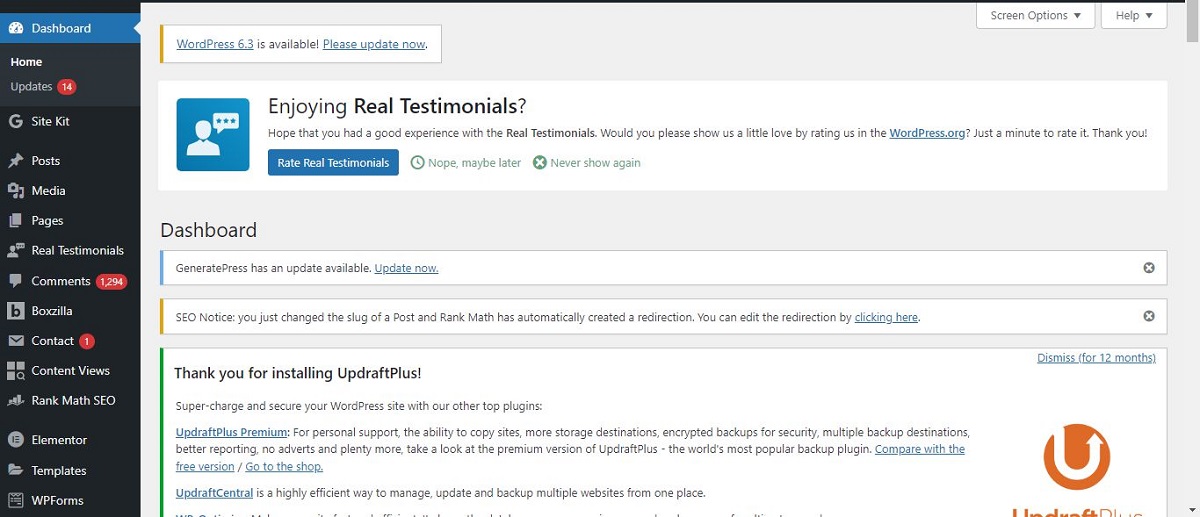
Elemantor is one of the most popular plugins, very user friendly, extensive customization options and responsive design capabilities makes it one of the most used plugin. It simplifies the process of creating stunning websites.
Throughout this step-by-step guide, you will learned how to effectively leverage Elementor’s features and bring your creative vision to life.
How to install Plugins
- Installation: Installing a plugin is quite simple. You can search for plugins directly from your WordPress dashboard by going to “Plugins” > “Add New.” From there, you can browse the WordPress Plugin Directory or upload a plugin file if you have downloaded it from another source.
- Activation: Once you have installed a plugin, you need to activate it for it to start working on your website. After activation, you may need to configure the plugin settings depending on its requirements.
- Customization: Most plugins provide options and settings that allow you to customize their behavior and appearance. These settings can typically be accessed through the “Plugins” menu in your WordPress dashboard.
- Updates: Plugin developers often release updates to improve functionality, fix bugs, or address security vulnerabilities. It is essential to keep your plugins updated regularly to ensure compatibility and maintain the security of your website.
WordPress offers both free and paid Plugins. Free Plugins are mostly developed and maintained by Open source dev’s and generally well supported but may have limited features whereas Premium plugins often come with dedicated support and additional features.
Using Plugins can greatly enhance your website but installing too many of them can slow down your website’s performance and may increase the risk of conflicts and security vulnerabilities.
To use Elementor, follow these steps:
Step 1 : Install and activate the Elementor plugin from the WordPress Plugin Directory.
- Follow the steps given in “How to install Plugins”
Step 2 : Create a new page or edit an existing one in the WordPress editor.
- Checkout “Pages section in wordpress dashboard”

- Click on add new

Step 3 : Click on the “Edit with Elementor” button to launch the Elementor editor.

Step 4 : In the editor, you can add elements by dragging and dropping them from the left panel onto your page.

Step 5 : Customize each element’s settings, including text, images, styles, and layout options.

Step 6 : Use the right panel to access advanced settings, such as responsive design controls and animation effects.

Step 7 : Preview your changes in real-time and save them once you are satisfied with the design

Congratulations on completing this guide! By following the steps outlined, you have unlocked the power of Elementor’s drag-and-drop interface to turn your creative ideas into reality. It doesn’t matter if you’re a beginner or an experienced web designer, Elementor is designed to be user-friendly and intuitive, allowing you to build professional-looking websites without any coding skills.
One of the best things about Elementor is its vast collection of ready-to-use templates and customizable elements. This means that you have endless options for creating websites that are not only unique but also visually stunning. With features like responsive design and advanced styling options, you can rest assured that your website will look fantastic on any device.
We sincerely hope that this guide has equipped you with the knowledge and skills needed to confidently use Elementor in your future web design projects. Don’t be afraid to experiment with different layouts, colors, and elements to create websites that truly captivate your audience.
Remember, coding doesn’t have to be a barrier when it comes to building beautiful websites. With tools like Elementor and platforms like codedamn, learning web development has become more accessible than ever before. So keep exploring, keep creating, and enjoy the journey of becoming a skilled web designer!
For a comprehensive list of the most popularly used plugins, I recommend checking out this informative blog post. Click here

