Wordfence is a very Powerful Security Plugin, It protect your website from various security threats, including malware, hacking attempts, and unauthorized access. It provides real-time threat detection and prevention to safeguard your site.
How to install Plugins
- Installation: Installing a plugin is quite simple. You can search for plugins directly from your WordPress dashboard by going to “Plugins” > “Add New.” From there, you can browse the WordPress Plugin Directory or upload a plugin file if you have downloaded it from another source.
- Activation: Once you have installed a plugin, you need to activate it for it to start working on your website. After activation, you may need to configure the plugin settings depending on its requirements.
- Customization: Most plugins provide options and settings that allow you to customize their behavior and appearance. These settings can typically be accessed through the “Plugins” menu in your WordPress dashboard.
- Updates: Plugin developers often release updates to improve functionality, fix bugs, or address security vulnerabilities. It is essential to keep your plugins updated regularly to ensure compatibility and maintain the security of your website.
WordPress offers both free and paid Plugins. Free Plugins are mostly developed and maintained by Open source dev’s and generally well supported but may have limited features whereas Premium plugins often come with dedicated support and additional features.
Using Plugins can greatly enhance your website but installing too many of them can slow down your website’s performance and may increase the risk of conflicts and security vulnerabilities.
Features Wordfence offers
- Malware scanning: Detects malware or suspicious files within your WordPress installation.
- Firewall: Blocks malicious traffic, brute force attacks, and other web-based attacks.
- Login Security: Provides options like two-factor authentication (2FA), login limiting, and password strength enforcement.
- Live Traffic: Monitors real-time traffic on your website, displaying visitors, bots, crawlers, and potential threats.
- Email Alerts: Sends notifications for security events like failed login attempts or file changes.
- IP Blocking: Allows you to block specific IP addresses or ranges associated with suspicious activity.
- Outdated Plugin/Theme Detection: Notifies you of outdated plugins or themes that may pose security risks.
To Shield your Site, follow these steps :
Step 1: Install and Activate Wordfence
- Log in to your WordPress dashboard.

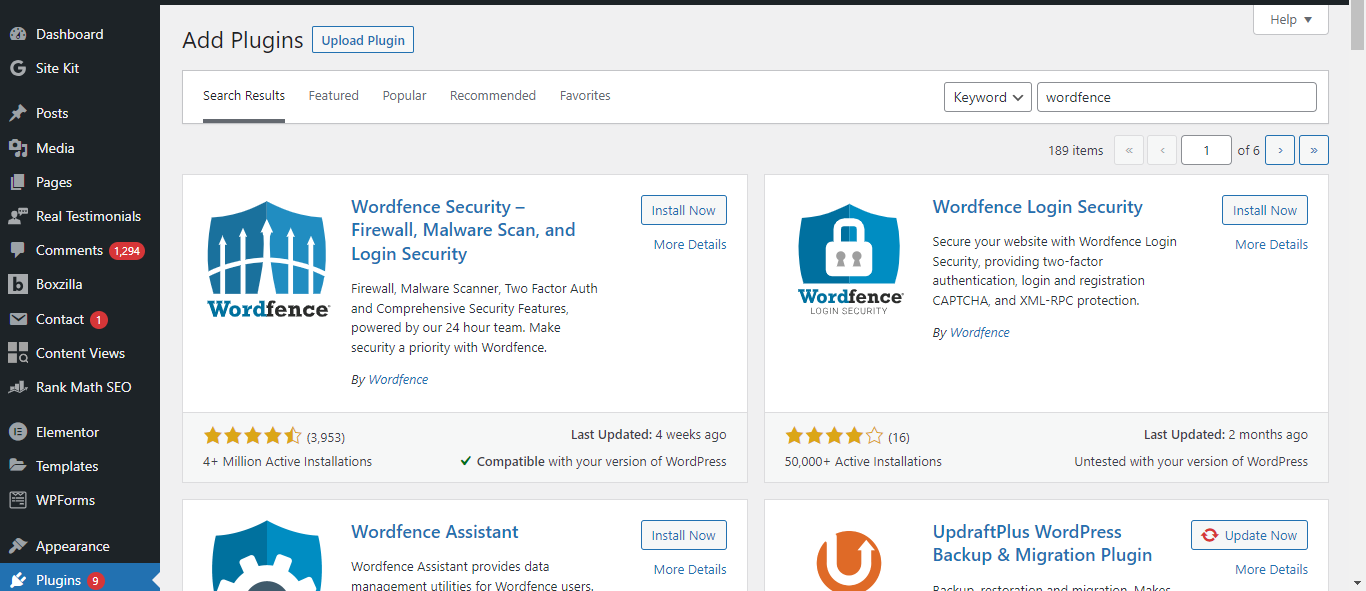
- Navigate to “Plugins” > “Add New. “Search for “Wordfence.”

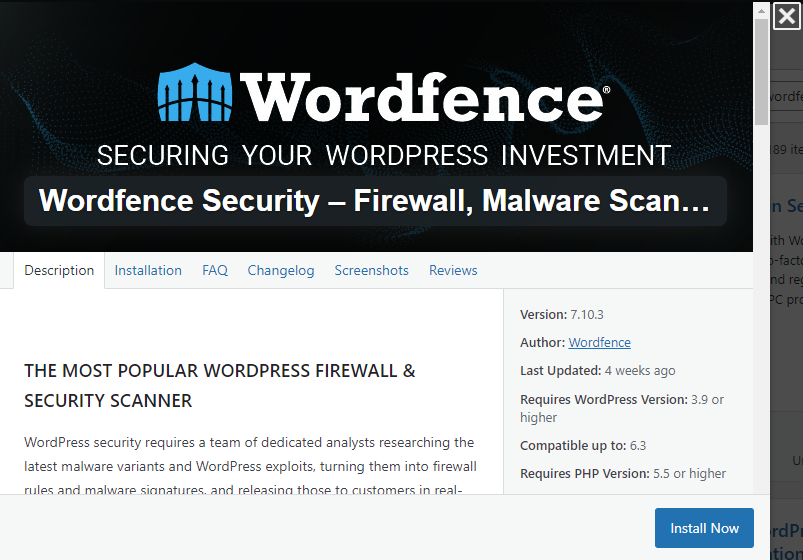
- Click on the “Install Now” button next to the Wordfence plugin.

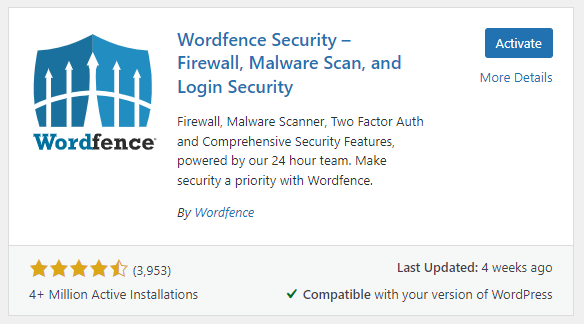
- Once installed, click on the “Activate” button.

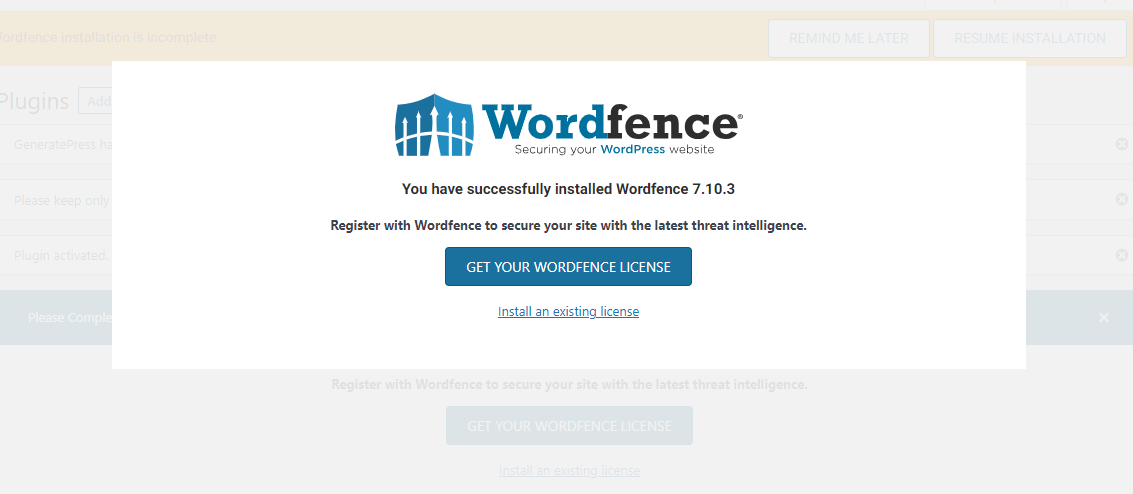
- get Wordfence license according to your need from here

Step 2 : Configure Wordfence Settings: After activating Wordfence, you will see a notification asking you to configure the plugin’s settings.
- Click on “Continue” to proceed.
Step 3 : Set Up an API Key: To access advanced features like country blocking and two-factor authentication (2FA), you need to set up an API key.
- Click on the link provided in the setup wizard or go to Wordfence > All Options > API Key tab. Follow the instructions there to create an account and obtain your API key.
Step 4 : Run a Security Scan: Once you have configured the settings, it’s time to run a security scan of your website.
- Go to Wordfence > Scan and click on “Start New Scan”.
- You can choose between a quick scan or a more comprehensive scan depending on your preference.
Step 5 : Review Scan Results
- go to Wordfence > Scan > Scan Results to review the findings. It will show any potential security issues found on your website such as malware, malicious code injections, or outdated plugins/themes.
Wordfence offers a comprehensive set of tools to protect your WordPress website. By taking action on security findings, enabling firewall rules, setting up login security, monitoring live traffic, configuring email alerts, blocking suspicious IPs, updating plugins and themes, and exploring advanced options, you can ensure that your website remains secure against potential threats.
For a comprehensive list of the most popularly used plugins, I recommend checking out this informative blog post. Click here

